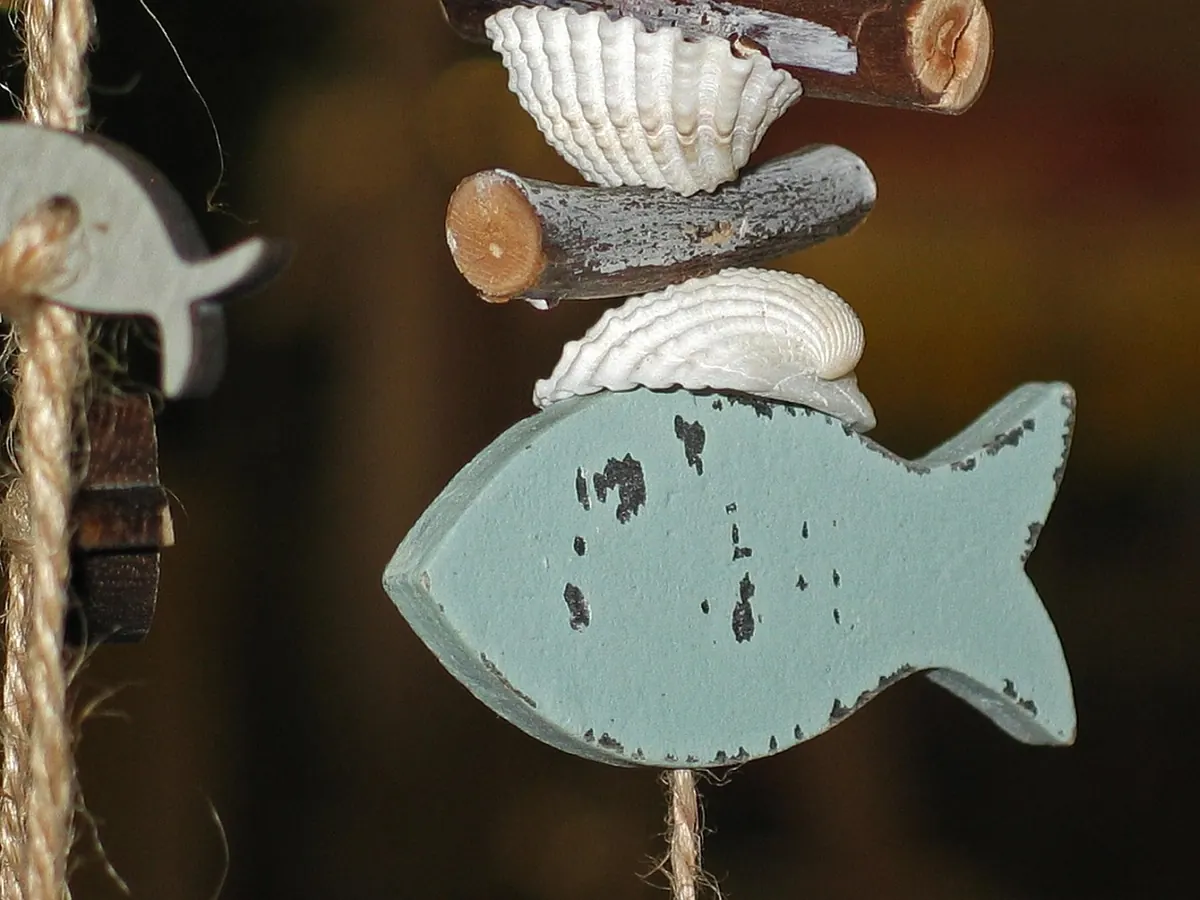
A British beach in winter is a quiet place: gulls, wet shingle, and a length of silvered wood that has clearly been travelling for years. Coastal decor works best when it looks gathered rather than bought, and gathered is nearly always cheaper. Here are ten projects made from driftwood, rope and reclaimed timber, none of which need more than a few hand tools.
Good driftwood is dry, light and sound. Tap it against your boot; if it feels firm at the edges and smells only of the sea, take it home. Leave anything spongy or smelling of diesel. Check local rules before you fill a bag — collecting is restricted on many nature reserves and protected stretches of coast, and a quick word at a visitor centre will tell you where you stand.
A basic kit covers every project below:
Preparation takes longer than the making. Rinse everything in fresh water, then soak driftwood in a bucket for a day or two, changing the water, to draw out salt and grit. Dry it indoors for a week — an airing cupboard is ideal, a radiator is too harsh. Sand the rough edges but leave the knots alone. Seal bare wood before you attach rope, or you will end up with varnish on your knots.
Clean jam jars, a metre of jute twine, a glue gun. Glue around the base, press the twine into it and wind upwards, adding a dot of glue every few turns. Stop two-thirds of the way up and tuck the end under the last wrap. Use a tea light rather than a tall candle, and test any jar before trusting it with a flame — glass cracks. A battery candle gives the same glow with none of the worry.
Find a straight piece around 60cm long, flat on the back. Glue and pin a thin strip of reclaimed timber along the bottom edge to make a lip. Sand, oil, then fix to the wall with two mirror plates and wall plugs. Postcards, paperbacks and a shell will sit happily; anything heavier wants a proper bracket.
A clean brick or a large pebble, wrapped in thick manila rope. Glue as you wind, finish with a loop through a drilled hole for a handle, and give it two coats of matt varnish so it does not fray. A good way to use up a half-metre of rope that is too short for anything else.
Choose your sturdiest length: a rail takes real weight. Drill pilot holes, then fix into timber studs or masonry where you can, or use heavy-duty plasterboard fixings rated above the weight of wet coats. Drill 10mm holes along the rail, thread short rope lengths through and knot them firmly behind. Three loops look tidy; five look like a cloakroom.
A flat board roughly 45cm long, with a hole drilled 4cm in from each corner. Thread rope through from underneath, tie a bulky knot beneath and glue it. Gather the four ropes above, knot them around a metal ring and hang from a ceiling hook fixed into a joist. Check the board with a spirit level before committing — adjusting a knot is easier than moving a hook. Keep it light: small pots, not books.
Start with the cheapest plain mirror you can find, or a mirror tile. Arrange driftwood lengths around the edge like pick-up sticks, then photograph the arrangement before you move anything. Glue each piece with clear adhesive, holding it with masking tape while it cures overnight. Leave a small gap at the bottom so condensation cannot pool behind the glass.
Cut a thick branch into 1cm discs with a fine-toothed saw. Sand the faces flat, oil them, and glue a felt pad underneath. Use seasoned or kiln-dried wood; green timber cracks as it dries. Six discs glued edge to edge make a trivet — put a folded cloth under a hot pan, as wood scorches.
Four metres of 8mm rope, folded in half with a loop tied at the fold. Lay the strands flat, then about 20cm down tie the outer strands around the inner ones with simple overhand knots. Repeat, finish with a chunky knot to sit the pot on, and hang it clear of doorways and curious cats.
Wrap an empty glass bottle in hemp twine from the base upwards, gluing as you go, stopping below the shoulder. Tuck in a shell or a scrap of netting with a dab of glue. One stem of dried grass is enough; the texture is the point.
A short piece of driftwood, three or four brass cup hooks and a rope loop. Drill pilot holes so the wood does not split, space the hooks evenly and screw them along the underside. Fix the rack with a mirror plate or a proper wall fixing — four sets of keys are heavier than they look.
Salt air is hard on everything. Re-oil wooden pieces once a year; a wiped-on coat of Danish oil or beeswax takes five minutes and stops the grain going grey indoors. Varnish rope that lives outside, and keep hanging pieces out of blazing sun, which weakens natural fibres.
Test anything hanging before you trust it. Load a new rail with more weight than it will carry, leave it overnight and look for movement. Wear eye protection when cutting and drilling, and ask before making holes in walls you do not own. On load-bearing pieces — a shelf above a bed, a rail full of wet coats — if you are unsure, get someone competent to fit it.
The best coastal rooms look collected over years, not delivered in a van.
Choose a single project, gather everything in one trip, and finish it before starting the next. Keep a box for promising offcuts and short rope ends; the piece you picked up in March often turns out to be right for something in October. If a finish is new to you, test it on the back of the wood first, and if a make goes wrong, repurpose it — a failed shelf makes a perfectly decent doorstop.
Photo: KRiemer / Pixabay

How to identify common British seashells, mermaid's purses and other beach finds — plus the simple rules that keep...

British seaside weather can deliver four seasons in one afternoon. Here is a flexible packing list covering layers,...
A month-by-month coastal gardening guide covering shelter, mulching, pruning and planting for colour, with practical...


Coastal living, nature, and seaside inspiration.
